v20
What is a Department/Group?
Departments, used interchangeably with Groups, are holding containers for users, IVRs, and phone numbers, which sets a default block of settings.
What is controlled by the Department?
When assigned to a department, the following settings are applied:
-
Extensions
- TimeZone, Holidays and Office/Break Hours – For things like Auto Switch
- Language - The language for the UI
- Prompt Set - The language heard in voicemails
- Transcription - Whether calls are transcribed for the user
-
IVRs
- TimeZone, Holidays, and Office/Break Hours are referenced to setup the alternative routes
- Prompt Set - The language of any automatic prompts used in the IVR
-
Directly Assigned DIDs
- Destinations - Numbers can be assigned directly to a Department, and they will all follow the assigned destinations
- This is how to recreate the classic Inbound Rule methodology of in/out office hours numbers.
Create a Department
- Go to Extensions > Groups/Departments
- Click Add group
- Enter the details as desired under the General tab
- Name: Descriptive name
- Prompt Set: The prompts used in assigned IVRs/Extension voicemails
- Language: The language used by assigned Extensions
- Time Zone: The time zone used for office/break hours
- Destinations: How calls that point at the department will route
- Under the Members tab, you can add users that you want to assign to the department
- Under Office Hours, define the period you want the office to be considered open
- Under Break Hours, define any periods within office hours that you want to consider breaks
- Under Holidays, add any holidays that will affect the department.
- Save and you can now assign various components to the department.
Assign or Remove a DID

- Edit your Department after saving in the system
- At the bottom of the page, search for and click on your free DID that you want to assign.
- If you want to remove it, simply click it on the left under the Assigned DIDs list.
Add or Remove an Extension
This is done under the Members tab of the department

Associate an IVR
Inside each IVR, there is a Group / Department dropdown that you can use to pick your groups.

v18
What is a Extension Group?
A extension group is a grouping created for set of extension users that helps with the phonebook organization and the management of those groupings. This is similar to a Call Queue, without the option of being a destination for Inbound Rules, Call Queues, Ring Groups and Auto-Attendants.
For more information on Group Extensions, please see our Understanding Extension Groups article.
How to Create a Extension Group
- Log into the bvoip phone system.
- Click on the Extensions drop-down menu.
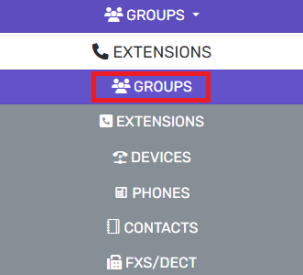
- Go to the Groups subsection.
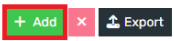
- Select the Add button. The page will refresh to reflect the group creation page.
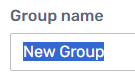
- In the Group's name field, type in a name for the group.
- Scroll down to the Members section.
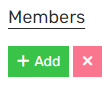
- Click on the Add button. A pop-up will appear to select the desired extensions.
- Click the plus sign next to extension to be added.
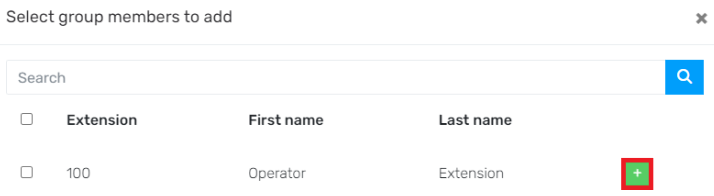
- Click the Ok button when completed.
- Go to the Group Rights tab.

- Scroll to the Global Right section.
- Select Publish Group Information to All Extensions to make the group visible to all extensions in the bvoip phone directory, if desired.

- Click on the Manager tab.

- Select the desired rights for the manager users to have in this group.
Note: Make sure that the extension users have manager rights set on their extension. - Click on the User tab.

- Select the desired rights for the extension users of the group.
- Click the Save button. Note: Make sure that extension users have the correct rights also set up on their specific extension.
To Check a User's Group Role
- Log into the bvoip phone system.
- Click on the Extensions drop-down menu.

- Go to the Extensions subsection.
- Select the Edit button on the desired extension.
- Go the Rights tab.

- Look for the the Default section.

- Click on the Role drop-down field to adjust the group role.
- Click the Save button.