There are three ways to add contacts in Textable:
Existing Conversation
- Log into Textable.
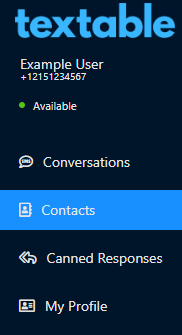
- Go to the Contacts menu.
- Select the Conversation that you wish to add a contact from. A second part of the screen will load, allowing the contact details to be edited.
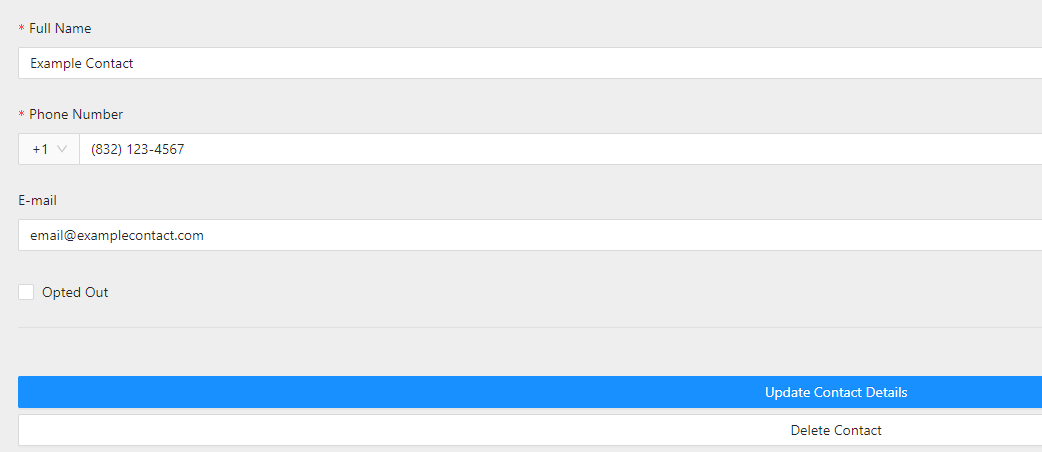
- Click on the Update Contact Details button once done.
New Contact with No Conversation
- Log into Textable.
- Click on the New Contact button. The Add New Contact pop-up will appear, allowing you to build out the contact in full.

- Add in the desired Contact details.
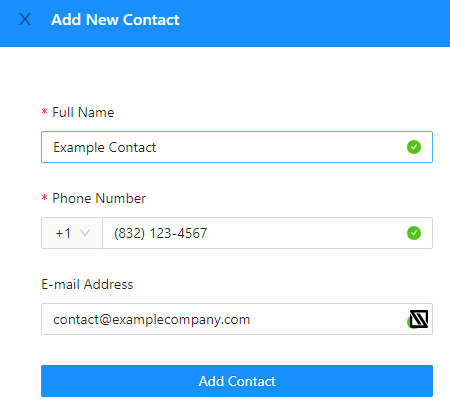
- Click on the Add Contact button once done.
CSV File Upload
- Log into Textable.
- Click on the Import button. The Import Contacts pop-up will appear. There will be an option to upload the CSV file from the Device or Add the Data from the CSV file into a field.

- If selecting to Upload the CSV file from your Device, click on the section to expand.
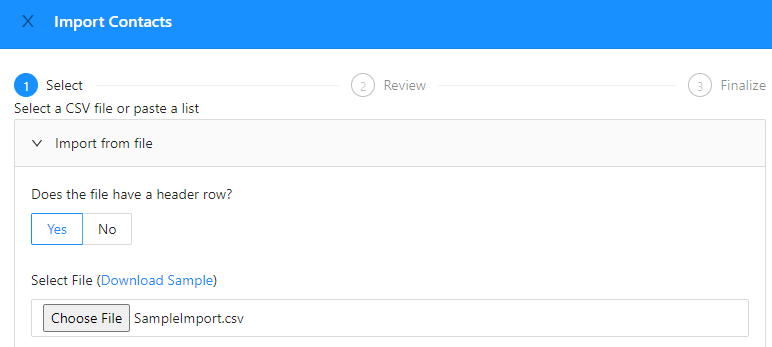
- Select Yes or No for the Does the file have a header row question.
- Import the File from your Local device.
- If selecting the Add Data from CSV file option, click on the section to expand.
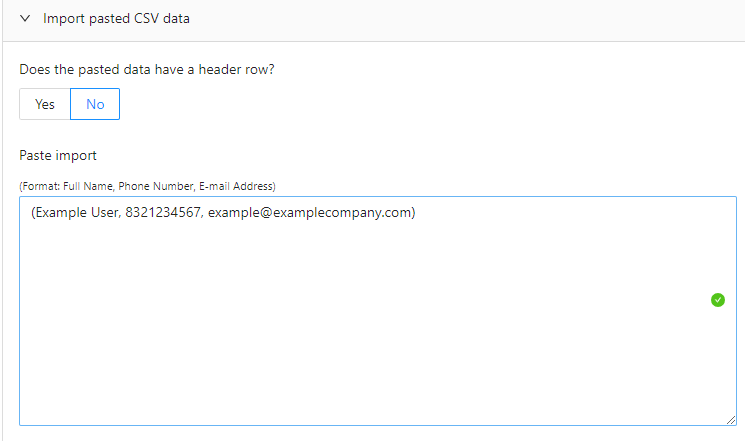
- Select Yes or No for the Does the file have a header row question.
- Input the data as provided in the example.

- If selecting to Upload the CSV file from your Device, click on the section to expand.
- Click on the Review Data and Alerts button. The next page will appear where the imported contacts can be reviewed.
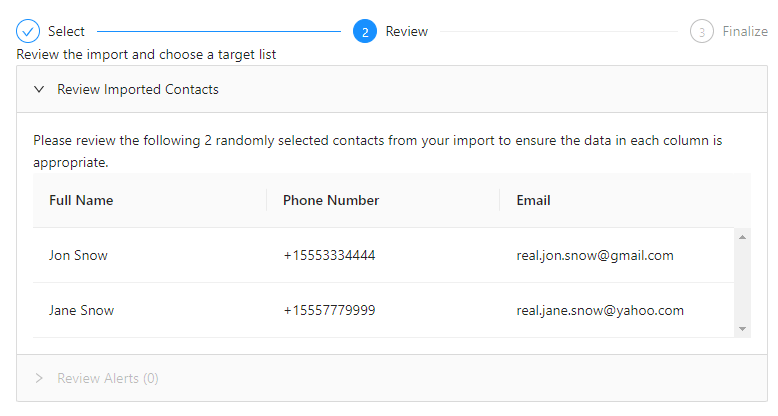
- Click on the Finalize Import button once confirming that the contacts are correct.
- The next page will show confirmation of the contacts added, edited and to which number.
- Click on the Finish Import button.
