Creating Canned Responses
- Log into Textable.

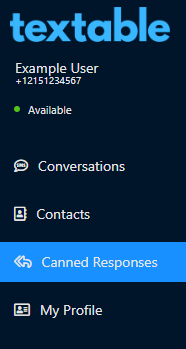
- Go to the Canned Responses menu.
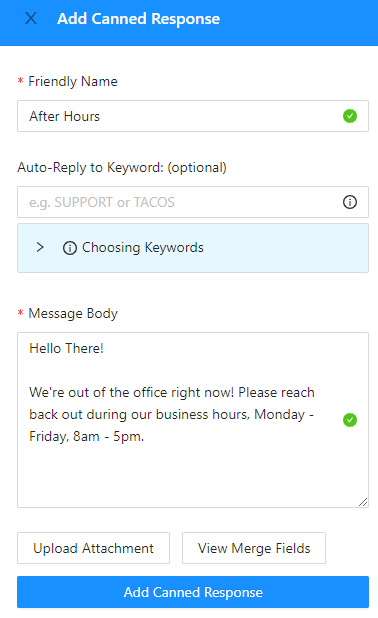
- Click on the Add New Response button. The Add New Canned Responses pop-up will appear.

- In the Friendly Name field, give a memorable name for the desired canned response.

- In the Auto-Reply to Keyword: (optional) field, add keywords to be used as triggers for the canned response, if desired.
- In the Message Body field, input your desired canned response.
- If desired, Click on the Add Attachment button to upload a file to the response.
- If desired, Click on the View Merge Fields to view name fields that have been merged in a conversation.
- The following merge fields are available when composing messages: first, last, title, and suffix.
- Click on the Add Canned Response button when done.