Creating an Organization
- Log into Textable.

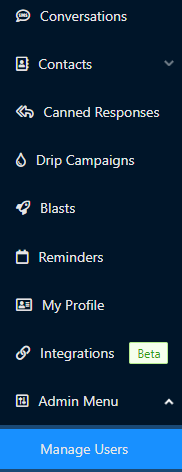
- Go to the Admin Menu.
- Select the Manage Users option.

- Go to the Organizations tab.

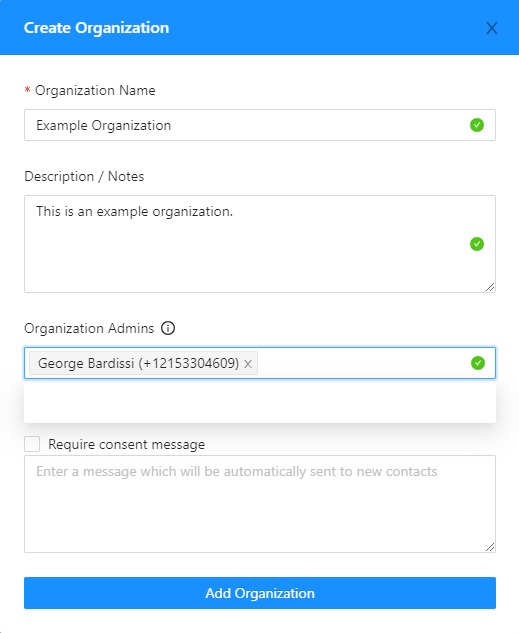
- Click on the Add Organization button. The Create Organization pop-up will appear.

- In the Organization Name field, input the desired Organization name.
- In the Description/Notes textbox, input a description of the organization.
- In the Organization Admins field, type in an existing user to make as an admin of the organization.
- Click on the Require Consent Message checkbox and input a message into the field below, if desired.
- Click on the Add Organization button.
Adding Users to an Organization
- Log into Textable.

- Go to the Admin Menu.
- Select the Manage Users option.

- Go to the Users section.

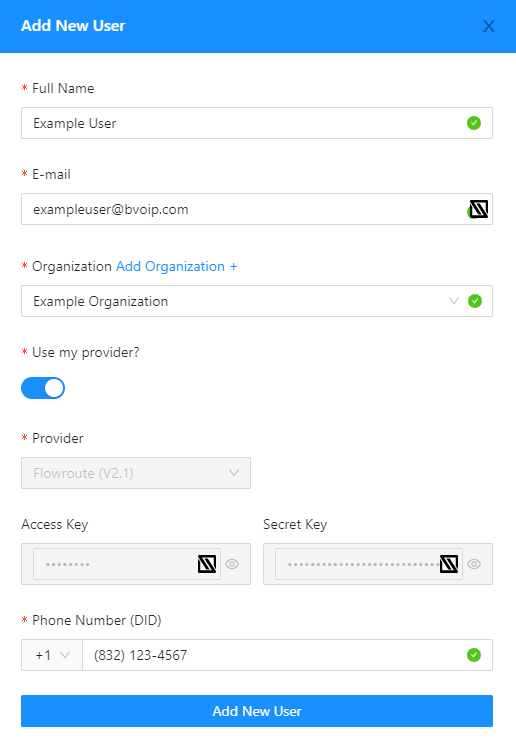
- Click on the Add User button. The Add New User pop-up will appear.

- In the Full Name field, input the user's name.
- In the Email field, input the user's email address.
- In the Organization drop-down, choose from the organizations that you've built out. If you need to create a new Organization, you can do so by clicking on the Add Organization text.
- For the Use My Provider slider, sliding it to blue will have the user using the same SIP provider as the main user. If left to grey, the SIP Provider will have to be filled out manually.
- In the Phone Number (DID) field, input the phone number that the user will be utilizing.
- Once done, click on the Add New User button.
The user will receive an email to activate their user.
Changing Organizations?
If a user needs to have a change to the organization in Textable, click on View next to their user to be able to edit their user and organization.