1stream View Required
1stream View Required
This feature is available for only 1stream View licensed users and higher plans. If you don't have this and would like this feature to be available, please reach out to your Sales Representative to upgrade user licensing.
Required Additional Steps
If you are planning to enable the call queue recording feature, please bear in mind that this feature allows for call recordings to be opted-in or out by callers. However, extension level call recordings need to be turned on in order for call recordings to take place. Additionally, if you are in the position to need to announce the opt-in/opt-out, you will need to set the notice in the Intro Prompt for the queue.
Enabling Recordings for Call Queues
- Login to the bvoip phone system.
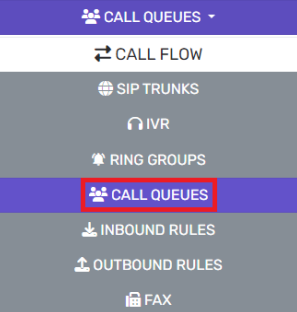
- Click on the Call Flow drop-down menu.

- Go to the Call Queue subsection.
- Add or Edit the desired call queue.
- Click on the Advanced tab.

- Scroll down to the Queue Recording section.
- Click on the check box to enable Queue Recording.
- Select the desired Opt option.

- Click the Save button.
Accessing Recordings
Once call queue recordings are enabled, users will be able to access them from the tool as well. To access the recordings and download, follow the steps below.
- Login to the bvoip phone system.
- Click on the Storage drop-down menu.
- Go to the Recordings subsection. The screen will default to an additional Recording subsection tab.
- The search bar can be used to find specific recordings.
- Click the Delete button should any recordings need to be removed.
- Multiple recordings can be selected by using the checkbox beside the recording date.
- Click the Download button to download each recording.
Call Recordings and 1Stream
Call recordings can be accessed in 1Stream and attached to tickets. Please refer to the following articles: