Required Access Notice
To enable the Microsoft Single Sign-on function, you must have one of the following roles in Microsoft 365 in your partner tenant of Microsoft 365, not the end customer:
- Global Administrator
- Privileged Role Administrator
If you do not have one of these roles, please contact your IT team for assistance.
Partner Level
This article covers setting up the partner level SSO, which is required for the nested customer SSO setup. If you're looking to setup SSO for a phone system under this, typically for your end customer, you should instead see Setup Microsoft 365 Single Sign-On (SSO) for Phone Systems for more information.
Setting up Microsoft SSO
Starting from the login page, bvoip enables customers to use their Microsoft 365/Entra ID tenant as their authentication provider, greatly simplifying the login process and making it so users do not need to remember a separate password or MFA code.
The steps in this article will cover setting up Microsoft SSO for all phone system users in a multi-tenant capacity.
Azure AD is now Entra ID
Although our documentation may still mention Azure Active Directory, Microsoft has rebranded this product as Entra ID. As a result, these terms are used interchangeably throughout the knowledgebase.
Entra Side Setup
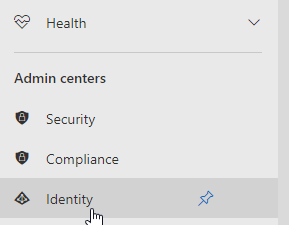
- Go to your Entra Admin portal. This is the Identity option under Admin centers in the Microsoft 365 Admin Portal, if you can't see it you may need to click Show All first.
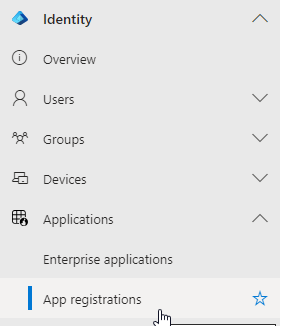
- On the left under Identity go to Applications > App registrations.
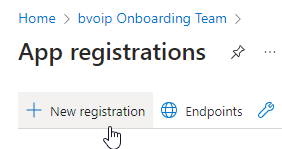
- In the top left click on New registration.
- In the Name field, input the desired name. This may appear to end users who login via SSO.

- Under Supported account types, select the Accounts in any organizational directory only (Any Microsoft Entra ID tenant - Multitenant) option.

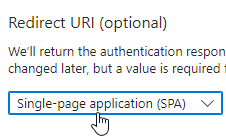
- Under the Redirect URI sectional, select the option Single-Page application (SPA) option from the drop-down menu.
- In the URI field, enter https://mtp.bvoip.net/users for the URL.

- Click on the Register button.

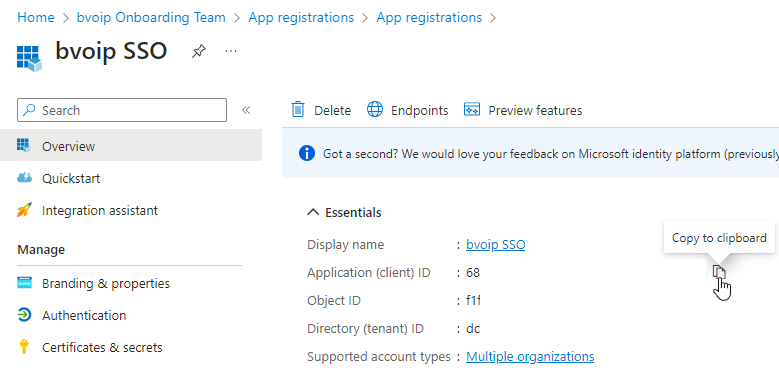
- You'll be brought to the main application page. Under the Essentials section copy down the Application (client) ID and Directory (tenant) ID values
- Open up your bvoip MTP portal and go to System > Single sign-on and then click Configure MTP portal account

- Select Microsoft for the type, and the two ID values copied above, then keep this window open on the Redirect URIs tab. Ideally side by side with the Entra ID page.

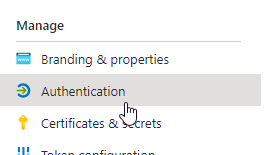
- Back in Entra ID, go to Authentication.
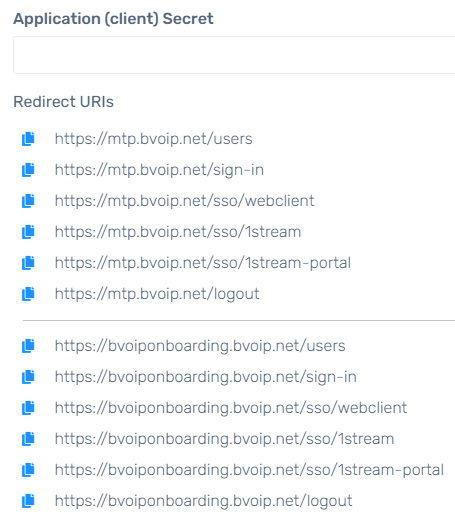
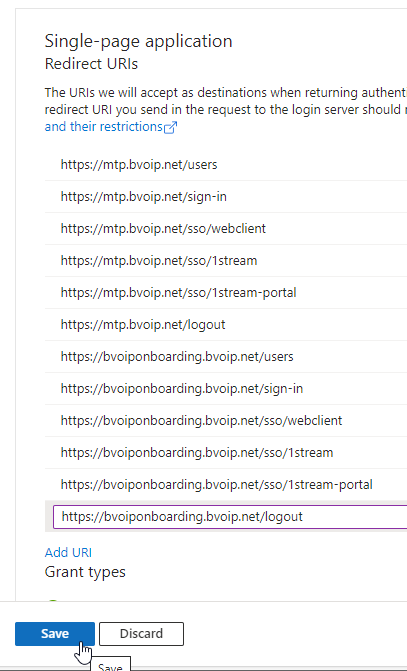
- Click the Add URI option 11 times and copy paste ALL 12 of the Redirect URIs from the MTP portal Redirect URIs tab into the Entra ID portal
-
NOTE: Your subdomain will differ, so the top 6 links will be the same but the bottom 6 will note compared to the image below.
-
NOTE: Your subdomain will differ, so the top 6 links will be the same but the bottom 6 will note compared to the image below.
- Click the Save button on the Entra ID side.
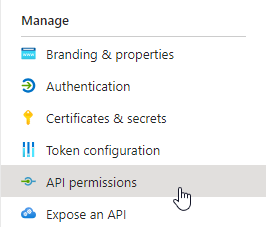
- Go to API Permissions on the left.
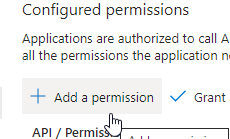
- Click on the Add a Permission button. The Requested API Permissions side screen will appear.
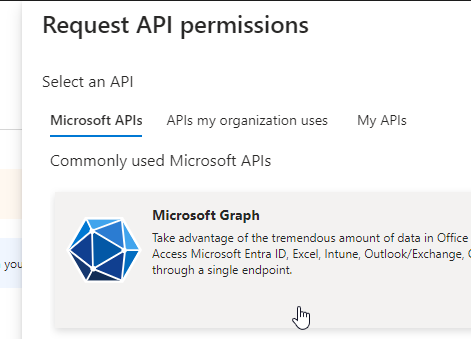
- Select the Microsoft Graph option.
- Click on Application Permissions.

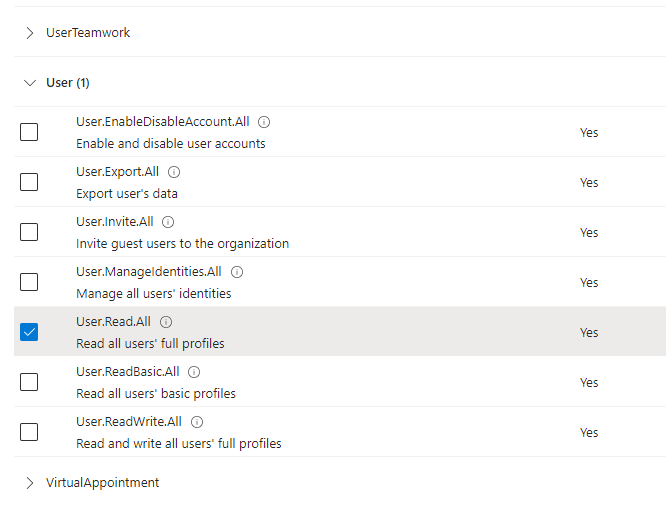
- Under the User permissions, select User.Read.All.
- Click on the Add Permissions button.

- Click on the Grant admin consent for... button. The Grant Consent Confirmation pop-up will appear.

- Click on the Yes button.

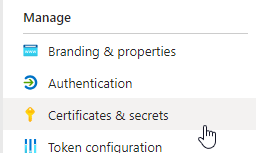
- Go to Certificates & Secrets.
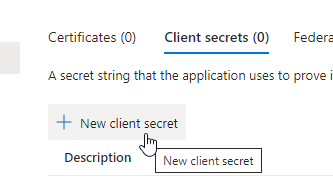
- Click on the New client secret button.
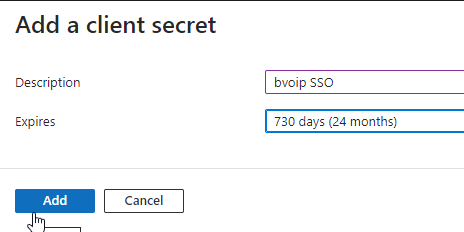
- In the Description text box, input a description.
- In the Expires drop-down, select the 24 months option.
- Click the Add button.
- Copy the Client Secret Value.
- Back in the bvoip phone system, enter in your Client Secret then click Save changes.

Activating Microsoft Single Sign-on
MTP Portal Users Notice
Only users who need access to the MTP Portal to administer phone systems need to be added here. Users who just need access to the webclient and 1stream can be setup under Setup Microsoft 365 Single Sign-On (SSO) for Phone Systems.
- In System > Single sign-on, click the Configure MTP portal users button.
- Select your users to enable for SSO.

Signing In with Microsoft Single Sign-on
Once activated for your users, they will use the normal login screen for accessing the MTP portal. However, instead of filling out the standard username and password fields, they will be able to login with a click of a button.
- Click on the Sign in with Microsoft button. A pop-up will appear with the Microsoft login prompt.
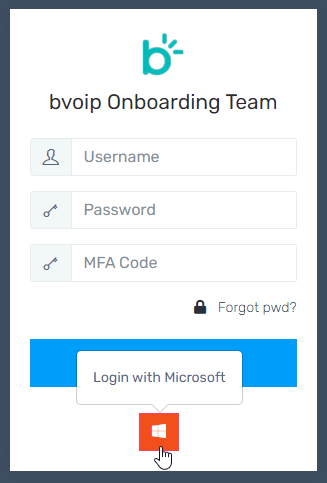
- Sign-in with the desired Microsoft login details.
Next Steps: Bind Your Internal Partner Users
Admin users need to be bound to an extension in one of your phone systems before they can access the Web Client and 1Stream systems. Follow the Setting User Bindings guide for more details.
Next Steps: Setup Phone System/End Customer SSO
Follow Setup Microsoft 365 Single Sign-On (SSO) for Phone Systems to setup the SSO for internal phone systems and your end customers.