Enhanced Feature Notice
If you would like to not have your extension users build out Self Identification recordings for their extensions or manage those recordings, please refer to our 1Stream Enhanced Dial-by-Name feature.
Setting the Self Identification Recording
In order to utilize this feature, each extension must first set the self-identification recording. If an extension does not do the self-identification recording, they will not be reflected in the directory.
- Go to the voicemail menu by dialing 9 for the digit length of the phone system. If your phone system's digit length is 3, then you would dial 999.
- Enter your voicemail PIN number.
- Go to the options menu by pressing the 9 key.
- Press the 5 key to record the self ID message.
- Record your name only, i.e. “Sarah Jones”.
Verifying Users are in the Directory
Administrator users can verify if an extension has recorded their identifier by going into that extension user's voicemail settings in the phone system.
- Log into the bvoip phone system.
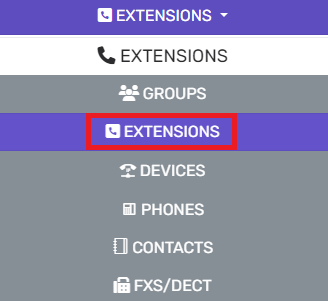
- Go to the Extensions menu.

- Select the Extensions submenu.
- Click on the Edit button beside the desired extension user.
- Select the Voicemail tab.

- Scroll down to the Manage Voicemail Greetings section.

- In the audio file drop-down, there should be the self_id_prompt.wav file listed. If this file is not reflected, click on the expand menu to see if the file was not selected. If the audio file not listed, it was not recorded. If the file is there, select the file.
- Click the Save button. (If changing the file.)
Multiple Users with the Same Name
If multiple users have the same name, they can record and do everything as usual. The phone system will play the names for the caller and allow the caller to select one if there are multiple matches.
Setup Variation Notice
The instructions below reflect setup based on having the IVR go directly to the function. However, the setup can be be applied similarly through a Key Press in the IVR.
Setting the IVR
After each extension has completed the self-identification recording, the auto attendant (IVR) must be set to use the Dial by Name function as it is not a default feature.
- Log into the bvoip phone system.
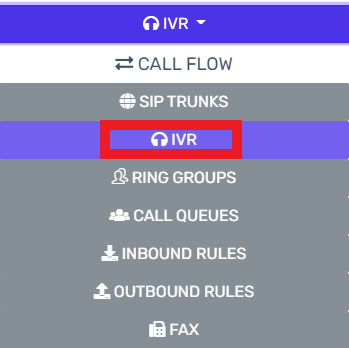
- Click on the Call Flow drop-down menu.

- Go to the IVR subsection.
- Create or Edit your desired IVR.
- If it is desired that callers are sent directly to a dial by name directory:
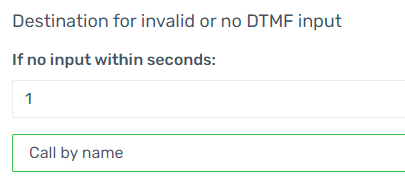
- Scroll to the Destination for invalid or no DTMF input section.

- Go to the If No Input Within Seconds text box, set the seconds to the desired time before sending the dial by name directory.
- In the drop-down directly underneath, select the Call by Name option.
- Click the Save button.
- Scroll to the Destination for invalid or no DTMF input section.
- If it is desired that callers are given a key option to go to the dial by name directory:
- Scroll to the Menu Options section.

- In the desired key number drop-down, select the Call by Name option.
- Click the Save button.
- Scroll to the Menu Options section.
- If it is desired that callers are sent directly to a dial by name directory:
Having Trouble?
Please refer to our Dial-By-Directory Troubleshooting article for assistance!
Expected Caller Experience
When using the Dial-By-Directory, callers will press the designated key as setup in the IVR. As long as your extension users have recorded their self-identification recording, the caller will then be able to press the the number pad based on the first three letters of the first or last name of the person they wish to connect to.
This means that if someone is trying to reach the extension user "George", they would press 436. If they were trying to reach an extension user with the last name "Bardissi", they would press 227.
Want to Have More Than Three Dial Digits?
If you wish to have more than three dial digits to help identify users, reach out to the bvoip support team to have this arranged.