DTMF IVR Functionality
The DTMF functionality allows for users to set custom menu options based on custom DTMF codes with up to nine digits each that will route to a desired action and destination.
Setting up an IVR with DTMF
- Log into the bvoip phone system.
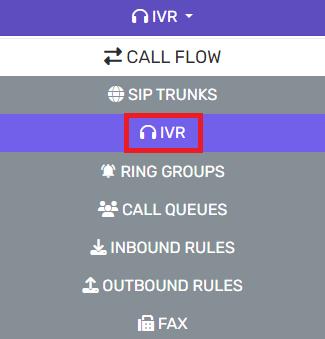
- Click on Call Flow drop-down menu.

- Go to the IVR subsection.
- Click on Add+ button. The screen will refresh to set up the IVR.

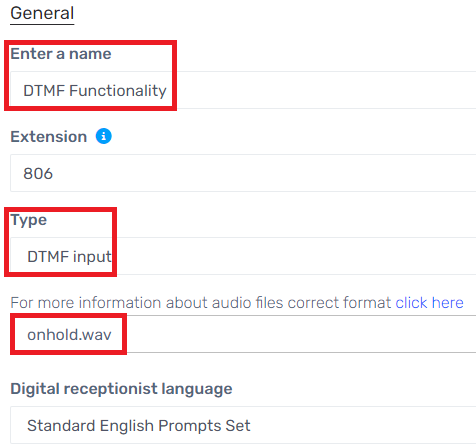
- Go to the General section.

- In the Name textbox, add the desired name such as InOfficeHours or something similar.
- In the Type drop-down, select DTMF Input.
- Under Intro Prompt Setting, choose the desired prompt file from the drop-down. If a file is needs to be recorded or uploaded, it can be done using the buttons next to the drop-down.
- Go to the Menu Options section.
- Click on the Add button.

- In the ID field, input the desired key number.

- For each key number, select a desired Menu Option from the drop-down if there will be menu options. Some options will have a secondary drop-down appear under the Destination column.
- In the Destination drop-down, either select the desired destination or audio file.
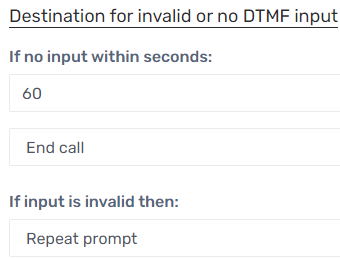
- Scroll down to the Destination For Invalid or No DTMF Input section.

- In the If No Input Within Seconds field, enter the amount time needed before action is taken.
- In the drop-down below the If No Input Within Seconds field, select the action to be taken once the designated time has elapsed.
- In the If Input is Invalid drop-down, select the action to be taken.
- Click the Save button.