1stream Enterprise Required
1stream Enterprise Required
This feature is available for only 1stream Enterprise licensed users and higher plans. If you don't have this and would like this feature to be available, please reach out to your Sales Representative to upgrade user licensing.
Haven't Built out the Custom Statuses Yet?
If you have not built out the desired custom statuses, please see our Creating Custom Statuses article before moving forward.
Changing Custom Statuses
- Log into the 1stream Portal.
- In the top menu, locate the Statuses icon.

- Click on Statuses. A pop-up menu will appear.
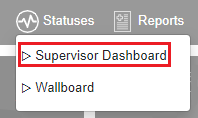
- Select Supervisor Dashboard. The Supervisor Dashboard will then appear in a separate browser tab.
- Scroll down to a desired agent.
- Click on the Agent's name. A pop-up will appear with the custom statuses reflected in a drop-down.
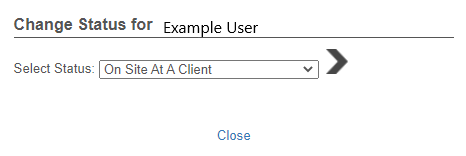
- Select the desired status to be applied.

- Click on the arrow button. The status will immediately be applied, and the window can then be closed.