1stream Core Required
1stream Core Required
This feature is available for only 1stream Core licensed users and higher plans. If you don't have this and would like this feature to be available, please reach out to your Sales Representative to upgrade user licensing.
What does this accomplish?
The OneDrive integration will export call data as Comma-Separated Values (CSV) files to a designated OneDrive account, refreshing the data every hour. You can then leverage your own tools and automations or third-party tools like BrightGauge to further action or review the data.
Setting up the Entra App
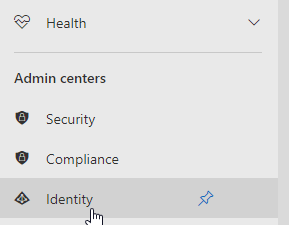
- Go to your Entra Admin portal. This is the Identity option under Admin centers in the Microsoft 365 Admin Portal, if you can't see it you may need to click Show All first.
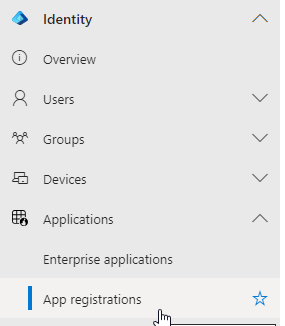
- On the left under Identity go to Applications > App registrations.
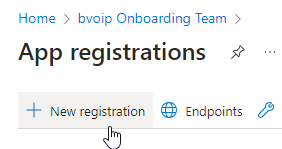
- In the top left click on New registration.
- In the Name field, provide a name such as bvoip BrightGauge.
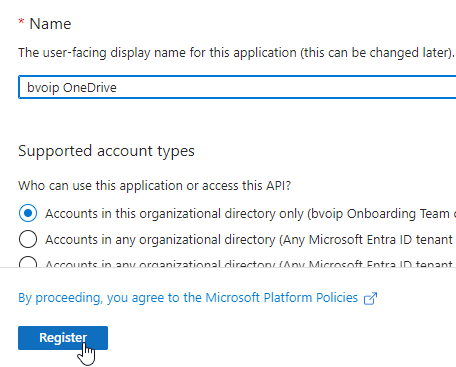
- Click the Register button.
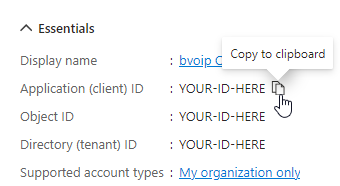
- Copy the Application (Client) ID and the Directory (Tenant) ID and paste them into a Notepad.
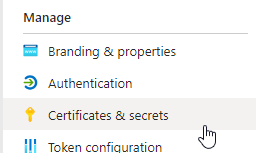
- Go to Certificates & Secrets on the left-hand side.
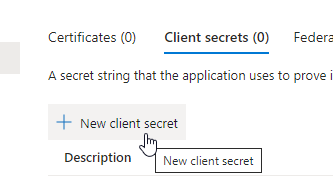
- Click on the New client secret button.
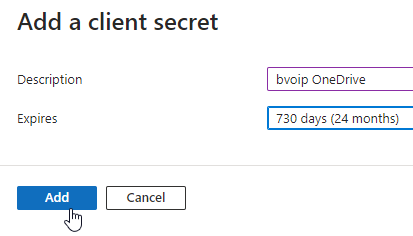
- In the Description text box, input a description.
- In the Expires drop-down, select the 24 months option.
- Click the Add button.
- Copy the secret Value and Paste it into a Notepad.

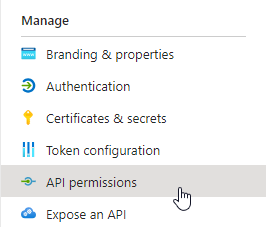
- Go to API Permissions on the left.
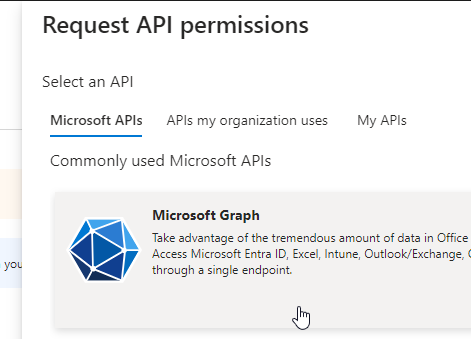
- Click on the Add a Permission button. The Requested API Permissions side screen will appear.

- Select the Microsoft Graph option.
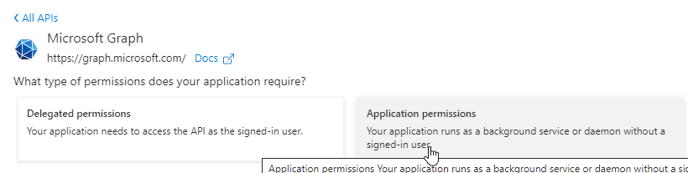
- Click on Application Permissions.
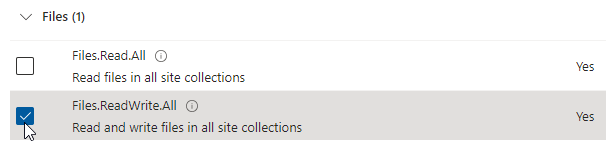
- Under Files select Files.ReadWrite.All
- Under Users select User.Read.All
- Click on the Add Permissions button.
- Click on the Grant admin consent for... button. The Grant Consent Confirmation pop-up will appear.
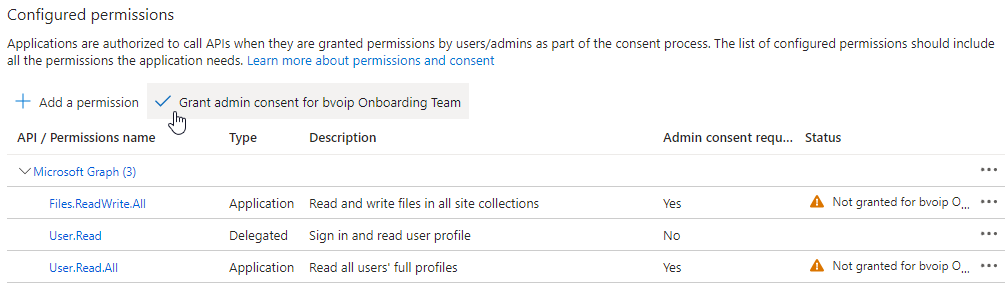
- Click on the Yes button.

Setting up the 1stream Integration
- Log into the 1stream Admin Portal.
- Go to the Administration > Manage Organization menu in the top right.

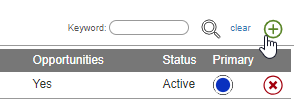
- Scroll down to the Connected Accounts and CRM Settings section, and click the green + sign in the top right.
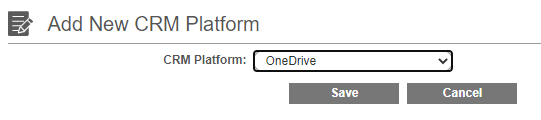
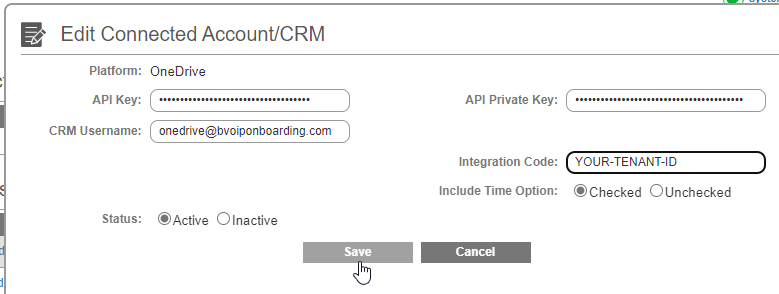
- In the Add New CRM Platform pop up window, select OneDrive and then click Save
- In the API Key field, paste the Application (client) ID.
- In the API Private Key field, paste the Client Secret.
- In the Integration Code field, paste the Directory (tenant) ID.
- In the CRM Username field, enter the username (with domain) of the OneDrive account you're connecting to.
- Click the Save button.
The integration between OneDrive and 1stream is now complete! You won't see data until the next hour cycle, but then you should see two files in the root of your OneDrive like below. 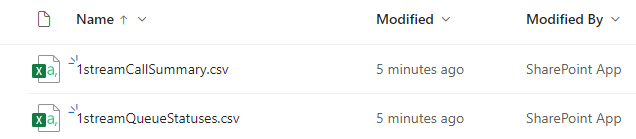
OneDrive Routine Frequency
The OneDrive files in the selected directory and data are refreshed on an hourly basis. The call record data is retained for one year.
Next Steps
From here you can take the CSV files and use them as you see fit, but our guides below will further walk through loading the data into the most common applications.