1stream Core Required
1stream Core Required
This feature is available for only 1stream Core licensed users and higher plans. If you don't have this and would like this feature to be available, please reach out to your Sales Representative to upgrade user licensing.
Accessing Tickets
Tickets are accessible in the 1stream client once a call has been attached to a contact. Tickets are sorted by company, not contacts. If you need help locating a ticket, please see our CRM Ticket View in 1stream article.
Editing Tickets
- Log into the 1stream extension.
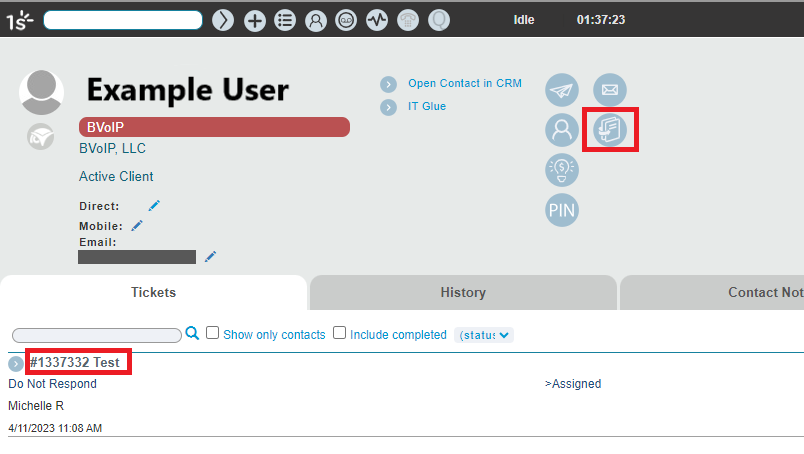
- Go to your desired contact to open the contact screen.
- Go to the Tickets tab.
- Click on the desired ticket name to open and update a ticket.
- Ensure all boards fields are filled out as desired.
- Scroll over to the Time Entry section and ensure that all times and fields are filled out as desired. If you need assistance with the time entry section, please see our Adding a Time Entry in 1stream article.
- Scroll over to the Notes section ensure that all times and fields are filled out as desired. If you need assistance with the notes, please see our Utilizing Ticket Form Snapshots in 1stream article.
- Click the Save button.
Need to Update a Closed Ticket?
Closed tickets will need to be re-opened in order to be updated with additional notes, time entries, and the like.