1stream Core Required
1stream Core Required
This feature is available for only 1stream Core licensed users and higher plans. If you don't have this and would like this feature to be available, please reach out to your Sales Representative to upgrade user licensing.
Adding a Time Entry
- Log into the 1stream extension.
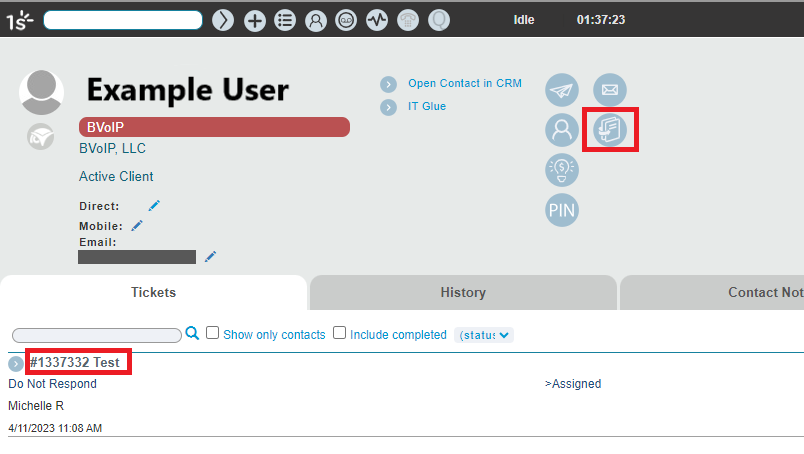
- Go to your desired contact to open the contact screen.
- Go to the Tickets tab.
- Click on the ticket title to open the ticket, or click the book icon to open a new ticket.
- Scroll down to the Time Entry section of the ticket.
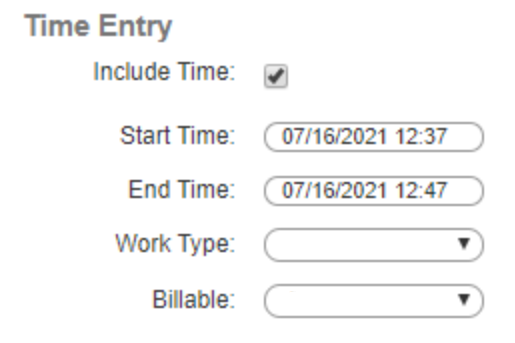
- Ensure that the Include Time box is checked.
- Ensure that the time and date that auto-populated in the Start time field is correct.
- This auto-populates based off the start/end time of the last call you completed. It will default to a 10 minute period if you're still on the call.
- If you need to correct it, click inside the textbox, a calendar and time slider will appear. You can also click the Now button to fill with the current time and date.
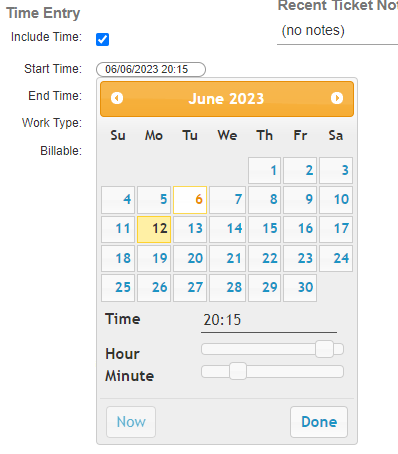
- Ensure that the time and date that auto-populated in the End time field is correct as well.
- In the Work Type drop-down, select the desired option.
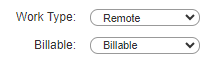
- In the Billable drop-down, select the desired option.
- Scroll down to the Notes section.
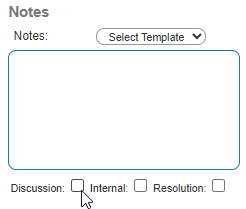
- Add Notes in the textbox and check Discussion, Internal, or Resolution.
- These option values may differ depending on the CRM
- Click the Save button.
The Time Entry will then update in the ticket in both 1stream and the connected CRM via the integration.