1stream Core Required
1stream Core Required
This feature is available for only 1stream Core licensed users and higher plans. If you don't have this and would like this feature to be available, please reach out to your Sales Representative to upgrade user licensing.
Creating a Ticket
- Login to the 1stream extension.
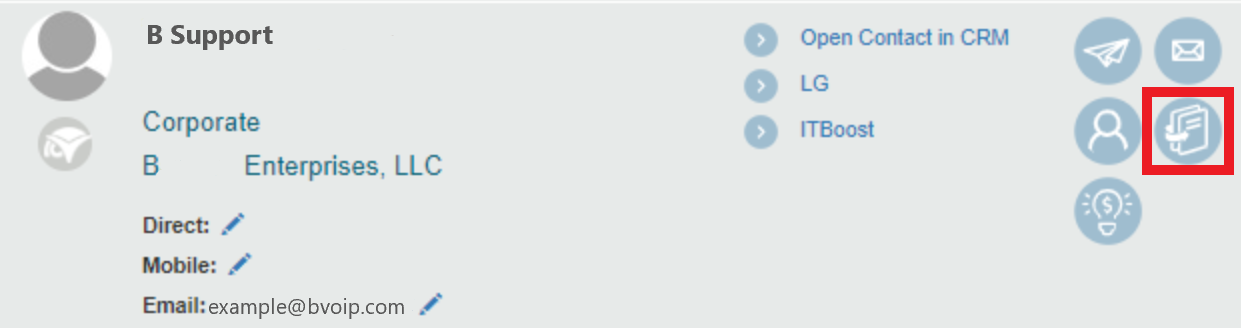
- Pull up a contact. This can be done by search or having a phone call matched with a contact.
- Click on the Add New Ticket icon. The Add New Ticket pop-up will appear.
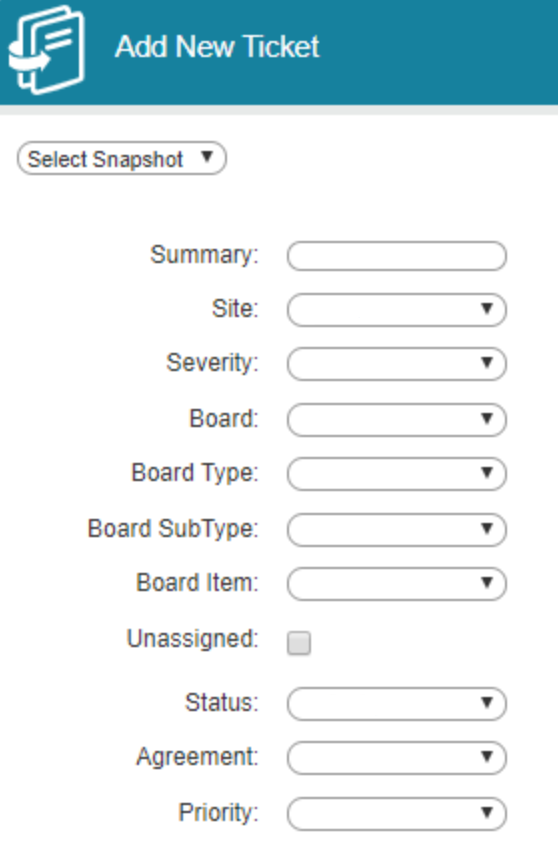
- Fill out the form fields as needed. The contents of each drop down will vary depending on the data pulled from your CRM connection.
- Alternatively, you can select a Snapshot from the drop-down if you have templates created.
- Scroll down to the Time Entry section.
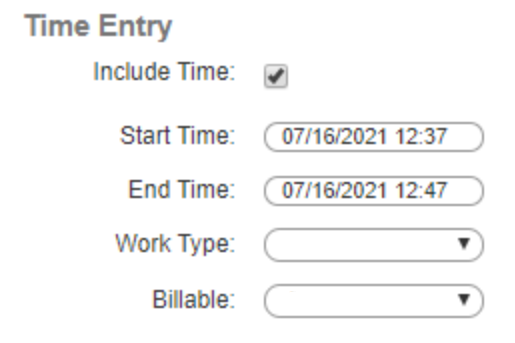
- The Include Time checkbox will need to be checked in order to include time.
- Fill out the Time Entry fields as needed.
- Scroll down to the Notes section.
- Add Notes manually in the text box or choose from the Notes Template drop-down.
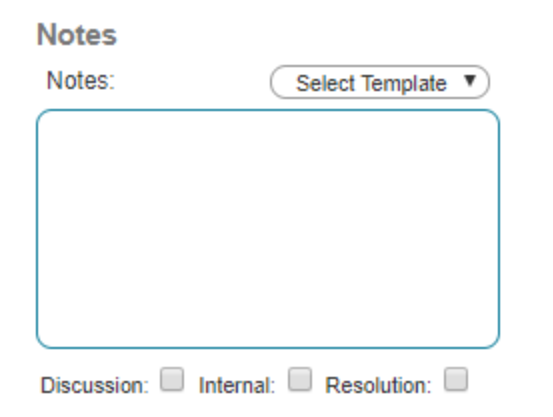
- Check the applicable box for if the note needs to be applied as Discussion, Internal or Resolution in order to have the note added into the CRM appropriately.
- Click the Add button.
The ticket will then be visible under the Tickets tab of the Contact as well as searchable in the connected CRM. Anyone associated in the Company will also have these tickets appear under the ticket tab of any other company contacts.