BusyLight Integration

The BusyLight Integration can help in-office users easily tell what support staff is on or off the phone when walking down the office floor by seeing the color-coded light.
Color Light Guide
The below will be the guide for the light colors:
- Green - Your microphone is not in use
- Red - Your microphone is in use
Install the BusyLight Software
Don't Have a BusyLight?
Kuando BusyLights can be purchased in the bvoip hardware store, found in the Partners menu of your admin portal.
To enable the BusyLight Integration, the BusyLight must be setup first.
- Plug the USB into the desired computer.
- Mount the BusyLight device where it can be seen.
- Download the In-A-Call software here, just click the Download icon on the right.

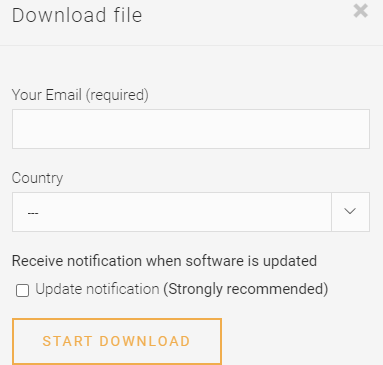
- A pop-up will appear to prompt for the user email address and Country, enter that then click Start Download.
- Open the Install zip file, then open the included folder
- Double click the MSI install file to run it

- Accept the terms and install the software
- Click the Finish button to complete the installer and close the install window.
When you get on a call now, your light should adjust automatically based on whether an application is currently using your microphone, so this should work for any softphone in addition to your normal meeting apps.
kuandoHUB
Under the same Downloads page you can also download the kuandoHUB software, which allows you to merge multiple BusyLight integrations into a prioritized list, so you can also adjust your presence via Teams, Zoom, Outlook, or others.

3CX Desktop App Integration
If your users are leveraging the 3CX desktop app instead of the Progressive Web App (PWA), you can also leverage the 3CX-level integration for the softphone. This will add an additional Blue light color when a call is ringing to your user.
