1Stream Core Required
1stream Core Required
This feature is available for only 1stream Core licensed users and higher plans. If you don't have this and would like this feature to be available, please reach out to your Sales Representative to upgrade user licensing.
Why Use a Team?
Teams can be created in 1stream to help users to limit certain views as determined by the Admin user.
Creating a Team
- Log into the 1stream Admin Portal.
- Go to the Administration > Manage Organization menu in the top right.

- Scroll to the Manage Teams section.

- Click the green circled + button. The Add New Team pop-up will appear.
- In the Title field, add the name of the Team.

- Click the Save button.
The Team group will appear in the refreshed screen.
Modifying Teams
After a Team Group has been added into 1stream, then users can be modified.
- Click the Team Name that needs modification.
- In the Edit Team pop-up that appears, click add or remove beside the users that should be included or excluded.
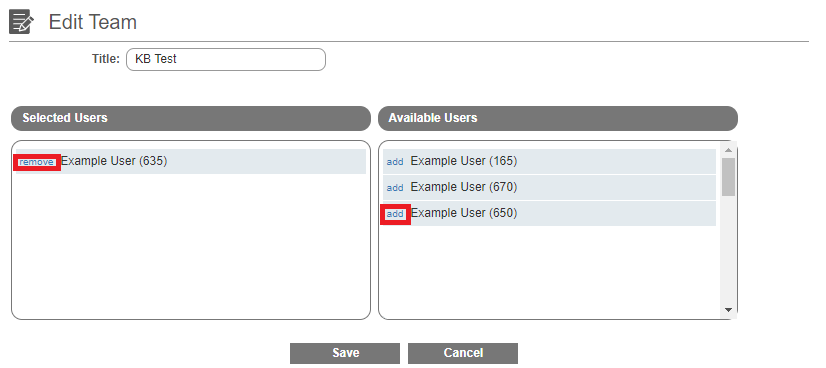
- Click the Save button.
The team group will be available with a drop-down at the top of the screen.