1stream Engage Required
1stream Engage Required
This feature is available for only 1stream Engage licensed users and higher plans. If you don't have this and would like this feature to be available, please reach out to your Sales Representative to upgrade user licensing.
If you are not using Engage, you can explore our Auto Switch Feature, which allows you to set users' status on a schedule. However, please note that it does not offer the same level of detail as the Signal feature.
Setting up the Queue Change Signal
The Queue Change Signal feature is intended to automatically set assigned staff members to be automatically logged in or out of a specific queue for a set timeframe when they are logged into the 1stream Desktop client.
- Log into the 1stream Admin Portal.
- Go to the Administration > Manage Organization menu in the top right.

- Scroll down to the Notifications - On Call Management section.
- Click on the Add / Edit link, then the Signal calendar pop-up will appear.

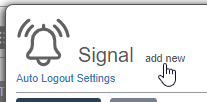
- Click on the Add New link in the top left. The space underneath the text will expand to allow for new options.
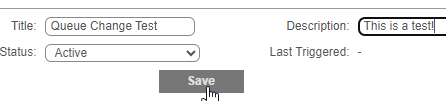
- In the Title textbox, plug in name and select Queue Change, then click the + button.

- In the Description field add a short description if desired, then hit Save.
- In the Extensions & Queues section click the green + icon.

- Select the Extension and Queue this schedule applies to then click Save. Repeat as many times as necessary.

- In the Schedule(s) section click the green + icon.

- In the Schedule Type drop-down, select Daily or One Time.

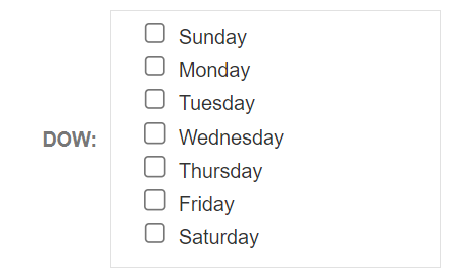
- For DOW, select the days of the week that this schedule will trigger.
- For the timing, enter it as follows:
- In the Start Date field enter the first date the schedule should run.
- In the End Date field enter the last date you want the schedule to run, but you can select No End Date to have it go on forever.
- In the Start Time field enter the time where you want users to be logged into the queue.
- In the End Time field enter the time where you want users to be logged out of the queue.
- Click the Save button to lock in the selections made.

The defined users will then be automatically logged in and out of the designated queue within the preset time schedule.
Using custom statuses and this isn't working?
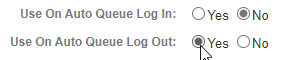
Ensure you have the Use on Auto Queue Log In/Out settings set to Yes for at least one status, changed inside the Custom Statuses menu, otherwise your users may not be logged in or our properly.
Example Schedules
As the scheduling can be a bit confusing, here are some example schedules that you can clone or adjust according to your needs.
Daily Business Hours Queue
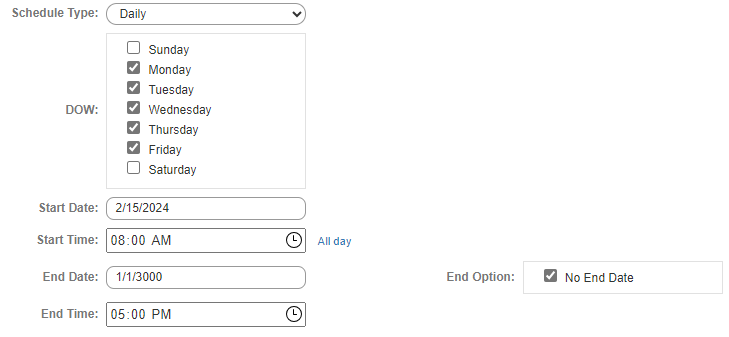
In the schedule above, starting on 2/15/2024, every Monday through Friday, selected extension(s) will be logged into selected queue(s) at 8:00AM, and then logged out of the queue(s) at 5:00PM.
Periodic Queue Login
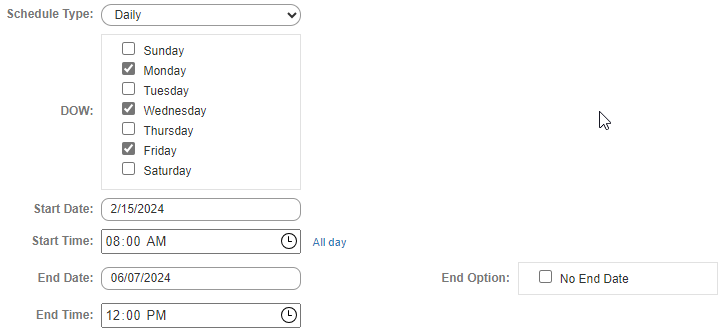
In the schedule above, starting on 2/15/2024 and ending on 6/07/2024, every Monday, Wednesday, and Friday log specified extension(s) into the specified queue(s) at 8:00AM and then log them out at 12:00PM.
One Time Coverage
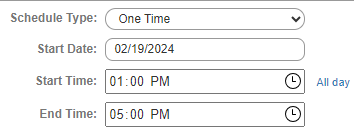
In schedule above, on 2/19/2024 specified extension(s) will login to the specified queue(s) at 1:00PM and then logout at 5:00PM.