Additional Microsoft Licensing Required
In order to leverage the built-in Teams Queues for calling, you must have a full calling plan and dedicated phone number inside of the Microsoft Teams system which will be used to pass calls from the bvoip phone system to the Teams phone system.
Setup the Teams Queue
The latest official Microsoft documentation can be found at Create a Call queue in Microsoft Teams, which contains much more detail than the streamlined process below as they update their interfaces frequently.
- Login to the Teams Admin Center
- Navigate to Voice > Call queues
- Click Add
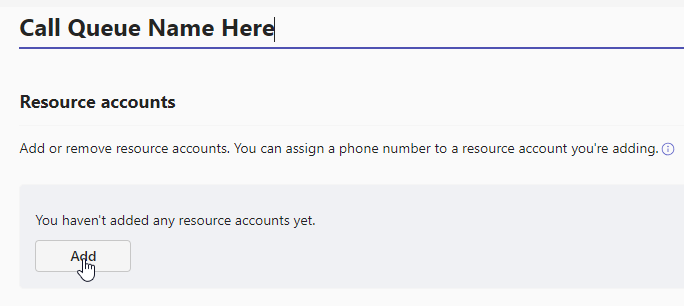
- Set a name for your Queue at the top under Add a name for your call queue
- Under Resource accounts click Add
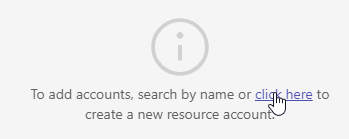
- Click the click here option to create a new resource account
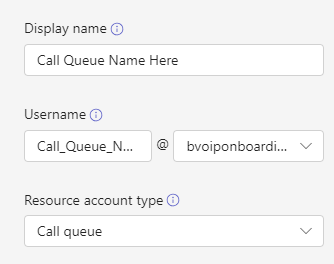
- Confirm the details and click Save
- Click Add to add your new resource account to the queue
- Hit Next
- Set a greeting and hold music if you'd like, then click Next
- Select the team, users, or groups that will be used to answer the queue, and click Next
- Choose your agent strategies and then click Next
- Set your exception handling rules, and then click Next
- Add any authorized users who will manage the queue, then click Submit
- Make sure you license the resource account with a Teams Resource Account and Domestic Calling Plan license in the main Microsoft 365 admin center, or this won't work.
Setup the Forwarding
- In the Teams Admin Center go to Voice > Phone numbers
- Select the phone number you're going to use for forwarding, and click Edit
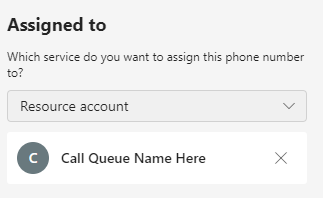
- Under Assigned to, select Resource Account and add your created resource user
- In the bvoip Control Portal, open up the phone system you're working with
- Navigate to Extensions > Extensions
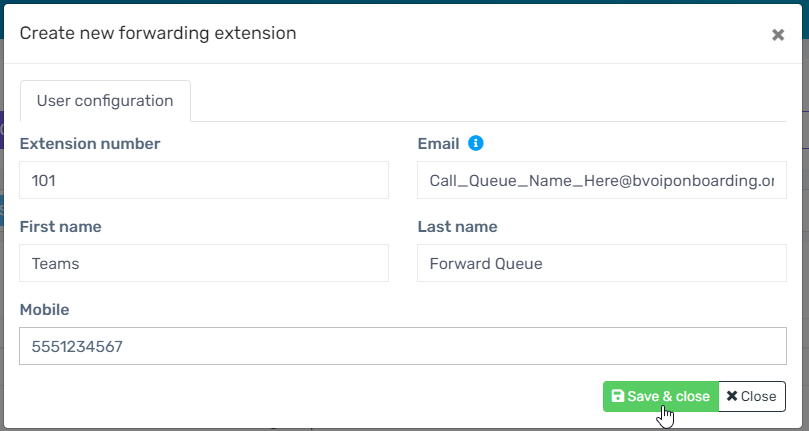
- Go to Add > Forwarding
- Enter in an extension and valid email address, you could use the resource account above, as well as the first name and last name with some description
- For the Mobile field, enter the newly purchased number
- Click Save & close
- Edit your newly created extension and go to the Forwarding rules tab
- Set all the options to Forward to mobile instead of Forward to voicemail, then click Save at the top.
You can now test a call to your forwarding extension, and after a brief connection delay you should arrive in the Microsoft Teams Queue you configured.
If the Caller ID does not show properly, ensure a dedicated outbound rule allows calls to your forwarding number without a caller ID being set.