SFTP Synchronizer Configuration
This article is intended to allow users to input the information for an FTP server where the instance can upload the recordings and voicemails to. Missing this successful connection can effect the access and saving recordings of calls and voicemails.
- Login to the bvoip phone system.
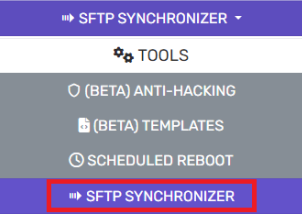
- Click on the Tools drop-down menu.

- Go to the SFTP Synchronizer subsection.

- Enter the required information for the SFTP Host, Port, Username and Password.
- Set the Recordings action:
- Do Nothing– No actions performed for the call recordings.
- Copy– A copy of the call recordings will be uploaded.
- Move– Recordings will be moved off the instance.

- Recordings destination – Desired folder on FTP server
- Voicemail Action and Destination – Same as above.
- Set the Recordings destination to the desired folder on the FTP server.
- Set the Voicemail Action.
- Set the Voicemail location to the desired folder on the FTP server.
- Set the Transfer Schedule with how frequently data should be transferred over the FTP server.

- Click the Save button.
The Recording and Voicemail Action settings will determine which folder the saved files are dropped into on the SFTP connection. In the below example the file names are being directed to C/:filename.
Depending on the Operating system, the file pathways will look a bit different. As long as the end directory on the SFTP is reachable, this will still function. The accessibility can be tested and verified using a basic FTP solution software, such as Filezilla.