Requirements
- You must be using SharePoint with Microsoft 365, this does not support on-premise installations.
- The Microsoft 365 Integration must be configured.
- A folder must be created in the root SharePoint site, other sites are not supported.
Lite or Per-User Plans
As this is changed via the backend phone system management console, if you are on a Lite or per-user plan, our team will need to make this change on your behalf. You can reach out to partners@bvoip.com and reference this document for the quickest assistance.
MOVE not COPY
This process MOVES the data to SharePoint. If you are looking to retain the data on your system for a period of time, you should instead utilize our SFTP Synchronizer which can copy files and Managing Storage Space for auto retention.
Create the Folder
- Visit your root SharePoint site, which should be https://yourcompany.sharepoint.com/
- In the Documents section create a new folder.
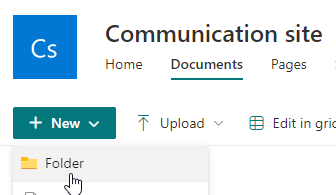
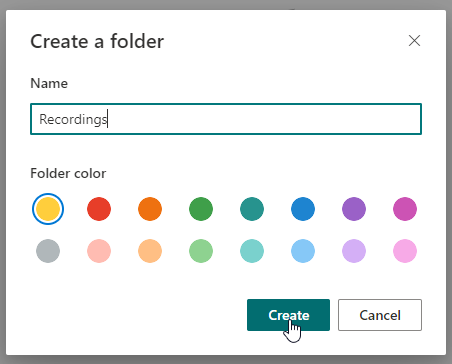
- Name it Recordings and click Create.
Setting up the Archival Process
- Login to the bvoip phone system.
- On the right side of the home Overview page, click the Phone system console link to open the phone system management console.

- Under PBX Status click on Recording.

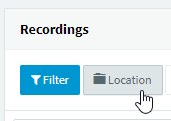
- Click the Location button in the top bar.
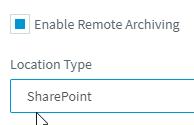
- Check Enable Remote Archiving and then set SharePoint as your Location Type.
- Click the three dots to the right of Select Folder/Path.

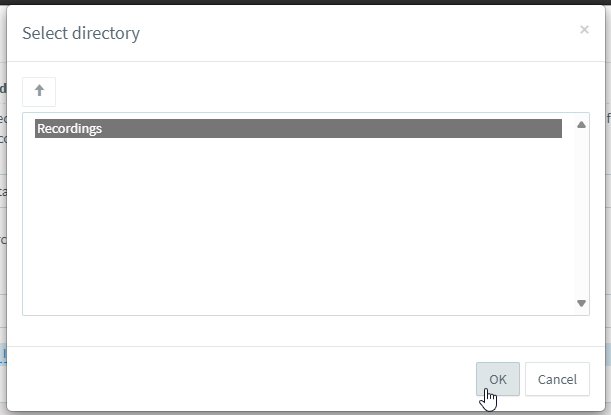
- Select the Recordings folder you created and click Ok. If you don't see the folder here, you either haven't setup the Microsoft 365 integration or the folder was not made in the root site.
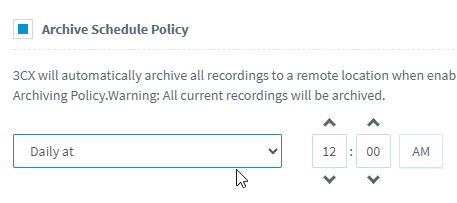
- Check Archive Schedule Policy and set whichever schedule you'd like.
- Press Ok to save your settings.
- Once your schedule has passed you will find that the WAV recordings have been copied into your Recordings folder within SharePoint.

Retention Settings
This MOVES recordings to SharePoint, and thus takes the files off the system, and they are then not available in 1Stream.
If you are looking to conserve space here, ensure that you also configure the retention settings per our Managing Storage Space article so that recordings are deleted after a certain number of days. Do note if your recordings are deleted faster than they are archived, some will be lost.