MPP Integration Notice
MPP Integration Notice
While the MPP system is still in use, we now have the new MPP Integration which removes the need for you to login to the portal and manage devices manually like before. Check out our article on Activating the MPP Integration for more details.
Once there is a configured customer site, we can start adding phones to it, which is a two-step process.
- Checking in Devices: This adds the devices into your inventory to be assigned out to end clients.
- Assigning the Devices: This takes them out of your inventory, and into an end client account.
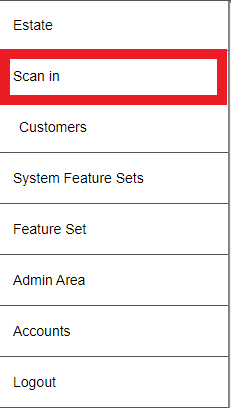
Scan-in Devices
- To Scan In devices, you must be logged into the Managed Provisioning Portal.
- Click on the Scan in menu option.
- Devices can be scanned in as a batch, or as a single device.

Batch of Devices Import Process
- Select the Batch Tab.

- Create a .csv file, with the MAC Address, and Model ID of the device.
- Click on the Model ID List button to locate a listing of Model IDs if the model ID is not available for the desired devices.

- Click on the Model ID List button to locate a listing of Model IDs if the model ID is not available for the desired devices.
- Once the .csv has been completed, Click on the Browse button to upload the .csv file.
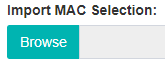
- Select the file form the local device.
- Click the Import CSV file button.

Single Device Import Process
- Select the Single tab.

- In the MAC address field, add in the device's MAC Address.

- In the Model drop-down, select model of device.
Note: The serial number of device is not required.
- Click the Scan in button.

Once scanned in, the phone device can then be assigned.
Assigning Devices
Once the device(s) are added into your inventory, they can be assigned to a specific end client account. Devices can be assigned in a batch or as a single device. Assigning devices as a batch requires a .csv file listing the MAC Addresses for all devices whereas assigning a single device requires only the MAC Address.
- Locate the desired client from the Customers list.
- Click on the chain link icon. The page will refresh.

- Select the Single tab.
- In the Search Criteria (e.g. MAC Address) filed, input the device's MAC address.

- Click on the Search Button. A listing of devices will appear to be selected from.

- Click on the desired device from the list.
Note: The template and fields are optional.
- Click the Assign button.

The Device will now be assigned and active.
Note: For Batch device assignments, a .csv file will need to be uploaded after selecting the Batch tab and the assign button would need to be selected.