1stream View Required
1stream View Required
This feature is available for only 1stream View licensed users and higher plans. If you don't have this and would like this feature to be available, please reach out to your Sales Representative to upgrade user licensing.
Why Set a Call Queue Manager?
In order to perform any sort of managerial overriding functions for a call queue, a user must first be set as a Queue Manager for the specified call queue.
In order to be Queue Manager for multiple call queues, access must be granted on each desired call queue and cannot be done in bulk action.
Setting a Call Queue Manager
- Login to the bvoip phone system.
- Click on the Call Flow drop-down menu.
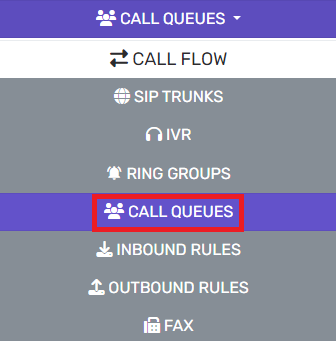
- Go to the Call Queue subsection.
- Select the Notifications tab.

- Scroll down to the Select Queue Manager Extension Number section.
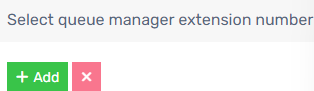
- Click on the Add button. The Select Queue Managers to Add pop-up will appear.

- Click the plus button next to the extension in order to add a user as a queue manager.
- Click the Save button. The pop-up will close.
- Click the Save button again.
Now that the specified user has been set as a call queue manager, they will be able to Log Call Agents in and out of the designated Call Queue.