1Stream View Required
1stream View Required
This feature is available for only 1stream View licensed users and higher plans. If you don't have this and would like this feature to be available, please reach out to your Sales Representative to upgrade user licensing.
Setting the Caller ID
- Log into the 1stream Admin Portal.
- Go to the Administration > Manage Organization menu in the top right.

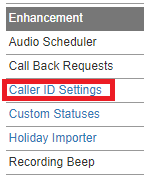
- Scroll down to the Phone System Enhancements section.

- Click on the Caller ID Settings text. The Caller ID Settings pop-up will appear.
- Click on the circled + plus sign. The Add New Caller ID Option pop-up will appear.

- In the Reference Name field, add the name of the caller ID.
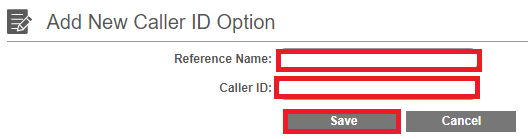
- In the Caller ID field, input the desired DID.
- Click the Save button.
Using the Caller ID
- Log into the 1stream client.
- Scroll to the Select DID drop-down.

- Select the desired DID from the drop-down.
When selected, the chosen caller ID will display for outbound calls. If a caller ID is not selected, the caller ID will reflect as shown in the phone system.