Where to Find Settings in Bandwidth Account
-
Sign in to your portal using the credentials provided by Bandwidth during sign up.
-
Click View Account.
- Select Sub-Accounts from the top menu.
- Click Create Sub-Account and fill in the required information.
- Navigate to Locations from the top menu to create a location.
- Click on Voice from the menu.
- Scroll down to Origination Settings.
- In Voice IP addresses / DNS hosts, add your static public IP and SIP Port.
-
Contact your account administrator to add your public IP address in the Termination Settings. Proceed with the next steps while you wait.

- Click on Numbers and select your type and preferences. During the checkout process, assign the numbers to your Sub-Account and location.
- Log into the bvoip phone system.
- Click on the Call Flow drop-down menu.
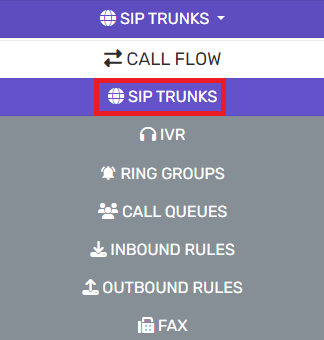
- Go to the SIP Trunks subsection.
- Click on the +Add SIP Trunk button.
- In the Select Country drop-down, choose United States.
- In the Select Provider in Your Country drop-down, choose Bandwidth.
- In the Trunk Number field, input the main number on the account. It must be in e164 format to work as expected. (i.e. +12154027200)

- Click on the Create button.
- In the Registrar / server / gateway hostname or IP field, input the IP address received from Bandwidth.
- In the Outbound Proxy field, select the Auto Discovery checkbox.

- In the Authentication section, make sure that the Type of Authentication drop-down is set to Do Not Require - IP Based.
- Go to the Options tab.

- Click the checkbox to enable Alternative Proxy. In the field that appears, input the other IP address received from Bandwidth.
- Click on the Save button.