Why Google Integration?
The Google Integration is intended to be an alternative login for those who use Google Workspace.
User Creation Notice
If you are looking to use Google Integration, the extension users would need to have the gmail account associated with their Google user account.
How to Setup
- Log into the bvoip phone system.
- Go to the Integrations menu.
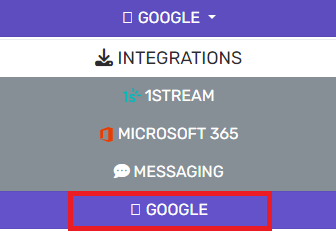
- Select the Google subsection.
- Go to the Authorized URI field.
- Copy the URI listed and save it for later in the process.
- Open Google console with your organization or personal account.
- Go to the Select a Project option. The Select a Project pop-up will appear.

- Click on New Project. The page will then refresh.

- On the New Project page, complete the project information.
- Project name - enter the project's name, e.g. "pbx-integration".
- Organization - select the correct organization (if applicable).
- Location - select the correct location.
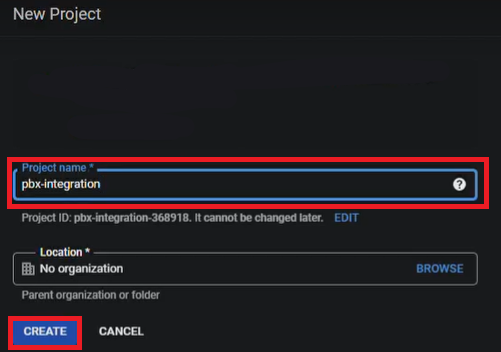
- Click on the Create button to create the project. The page will refresh.
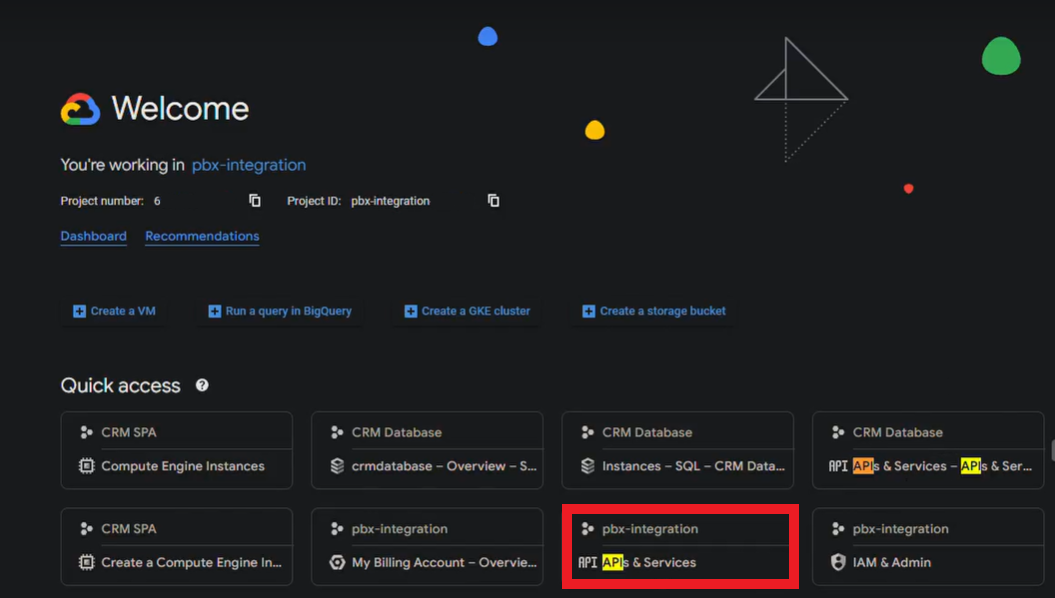
- Go to APIs & Services.
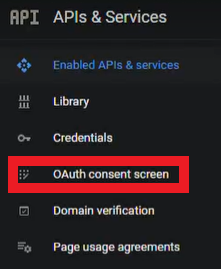
- Select the OAuth Consent Screen menu option.
- Select the appropriate User Type.
- Internal - Application will be accessible by the corporate Google accounts.
- External - Publicly accessible for any user with a Google account.
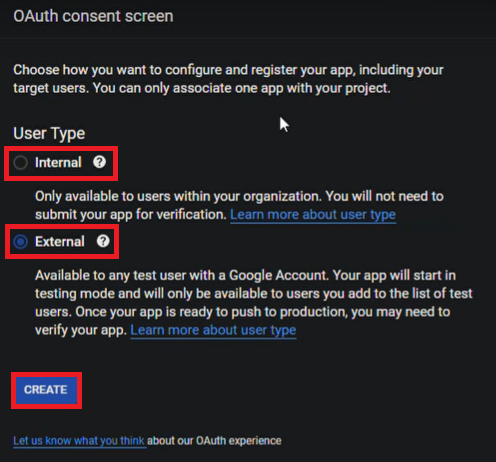
- Click on the Create button. The page will refresh.
- Publish App is required on OAuth consent screen with the successful completion of the steps below.
- Complete the OAuth consent screen information.
- App information - App name - enter the app name, e.g. PBX Integration.
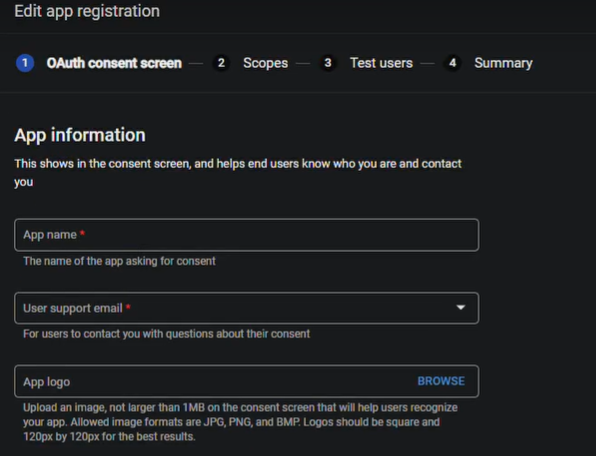
- App information - User support email - enter the email for support.
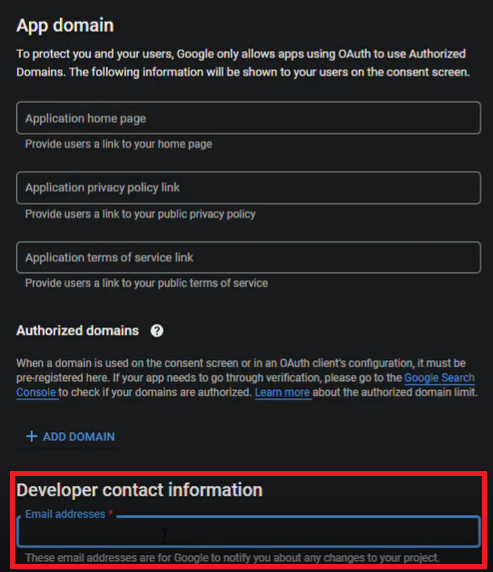
- Developer contact information - Email addresses - enter the email for development support.
- App information - App name - enter the app name, e.g. PBX Integration.
- Click on Save and Continue. The screen will refresh to go over Scopes.

- In the Scopes section, click on Save and Continue. The screen will refresh to go over Test Users.
- In the Test Users section, click on Save and Continue. The screen will refresh to reflect the OAuth Summary.
- Select the OAuth Consent Screen menu option.
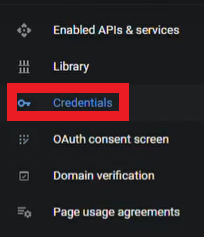
- Click on Create Credentials.
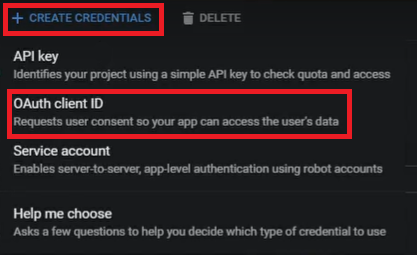
- Select the OAuth Client ID option from the drop-down menu. The screen will refresh to the Create Client OAuth ID screen.

- In the Application Type drop-down, select Web application.
- Name - Enter a name for the OAuth client, e.g. PBX Integration.
- Scroll down to the Authorized redirect URIs section.
- Click on + Add URI. A text field will appear.
- In the text field, paste the value from step 5.
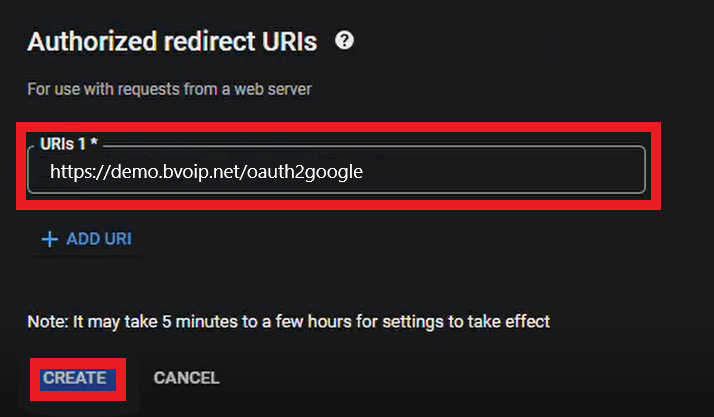
- Click on the Create button. The screen will refresh with the OAth Client Created pop-up.
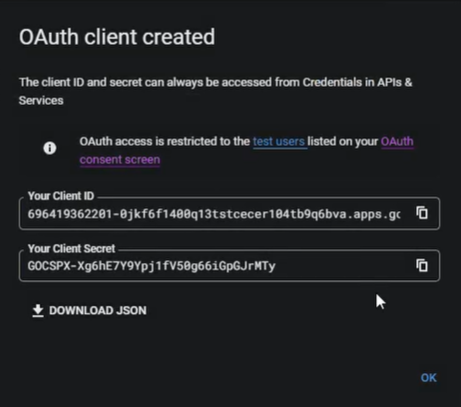
- Copy the value in the Your Client ID field and save it for later in the process.
- Copy the value in the Your Client Secret field and save it for later in the process.
- Click on Download JSON to keep the JSON file generated.
- Click OK to close the window.
- Go back to the bvoip phone system.
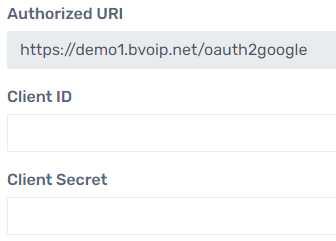
- Paste the Client ID into the Client ID field.
- Paste the Client Secret into the client secret field.
- Scroll down to the Administrator Sign In section.
- De-select the check box for the Administrator Sign In section.
- Scroll down to the User Sign In section.
- Ensure that the checkbox is selected.
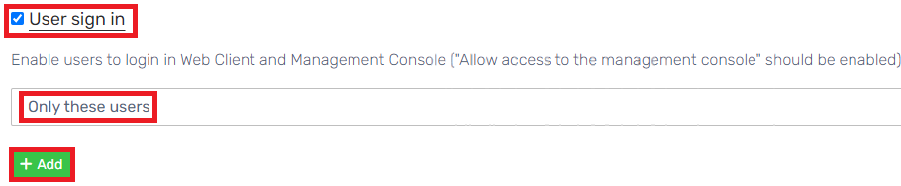
- Select the Only These Users option from the drop-down.
- Click on the Add button. A pop-up will appear for users to be selected.
- Select the desired Google users.
- Click on the Close button.
- Click the Save button.